Multi-Page Layout, Callbacks
Ch 07 - Multi-Page Layout
A Simple Multi-Page App
A Simple Multi-Page App
The first step in creating multiple pages for our Dash app is to separate our content into multiple distinct variables or elements. For example, if we wish to create three pages, we can perform this by create three content variables:
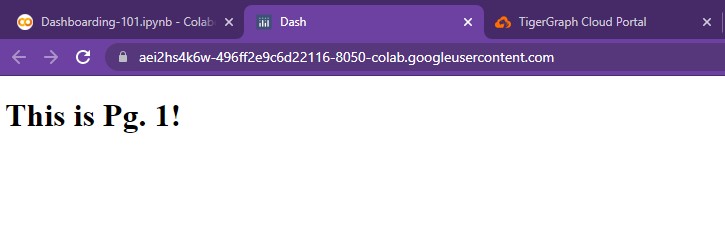
page1_content = html.Div(html.H1("This is Pg. 1!"))
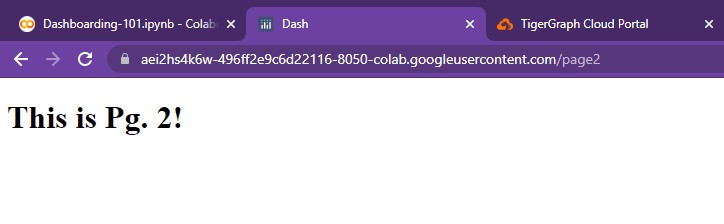
page2_content = html.Div(html.H1(html.B("This is Pg. 2!")))
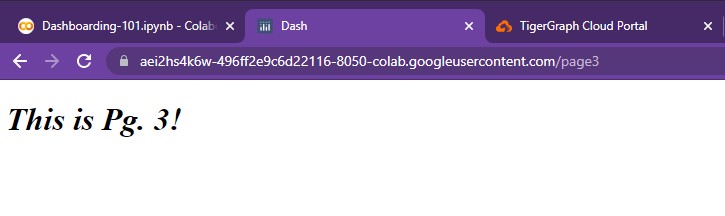
page3_content = html.Div(html.H1(html.I("This is Pg. 3!")))
Next, we must change our app layout to reflect this:
app = JupyterDash(__name__)

app.layout = html.Div([
    dcc.Location(id='url', refresh=False),
    html.Div(id='page-content')
])

@app.callback(dash.dependencies.Output('page-content', 'children'),
              [dash.dependencies.Input('url', 'pathname')])

def display_page(pathname):
  if pathname == "/":
    return page1_content
  elif pathname == "/page2":
    return page2_content
  elif pathname == "/page3":
    return page3_content

app.run_server(mode='external')
And now, running the app will only show us the first page!
However, entering the proper link will take us to pages 2 and 3.
How are we doing this? Well, using a simple callback...
As defined below the app layout, the input is simply the pathname of the current page. The output is the page-content, an html.Div element that we've defined in our app layout. This is where the importance of element id's comes into play! For any element that will be updated via a callback, an id is needed.
@app.callback(dash.dependencies.Output('page-content', 'children'),
          [dash.dependencies.Input('url', 'pathname')])
Breaking down the function display_page(), we simply compare the pathname to several predefined, valid pages. Then, the respective content is returned. This content is stored and displayed in html.Div(id='page-content').
NOTE: We will cover callbacks in the next chapter! This is merely an intro used to navigate through pages.
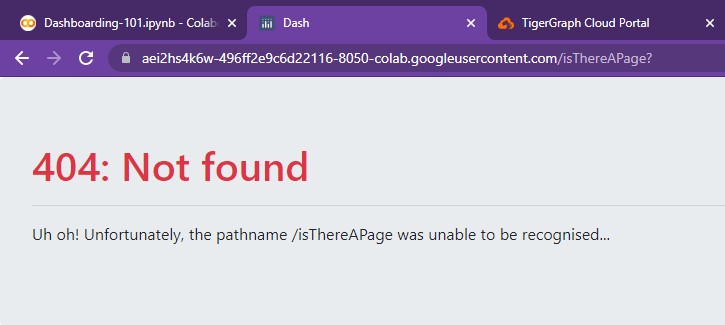
Yet entering any other link will lead to a blank page... uh oh!
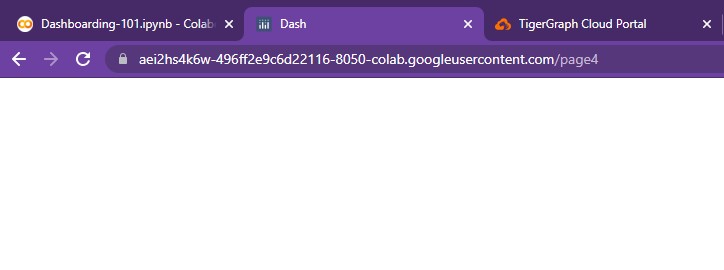
We need to make sure that the user doesn't accidentally access any unauthorized or unbuilt pages. They should only be able to access the extension links that we've provided. In order to secure this, we can use Dash Bootstrap...
Dash Jumbotron
The Dash Jumbotron is a Bootstrap component that is used to showcase important messages. In this case, we'll use it to display a "404 error message" whenever the user reaches an unauthorized page.
Adding this jumbotron is quite simple.
app = JupyterDash(__name__, external_stylesheets=[dbc.themes.BOOTSTRAP])

app.layout = html.Div([
    dcc.Location(id='url', refresh=False),
    html.Div(id='page-content')
])

@app.callback(dash.dependencies.Output('page-content', 'children'),
              [dash.dependencies.Input('url', 'pathname')])

def display_page(pathname):
  if pathname == "/":
    return page1_content
  elif pathname == "/page2":
    return page2_content
  elif pathname == "/page3":
    return page3_content

  return dbc.Jumbotron(
        [
            html.H1("404: Not found", className="text-danger"),
            html.Hr(),
            html.P("Uh oh! Unfortunately, the pathname {} was unable to be recognised...".format(pathname)),
        ]
    )

app.run_server(mode='external')
And just like that, we've put together a simple multi-page app!
In order to modify each page, we can simply change the html.Div() element to contain our page's components. To add pages, we can extend our if/else. Yet as of now, users can only navigate by entering each page's link.
Comprehensive Multi-Page App
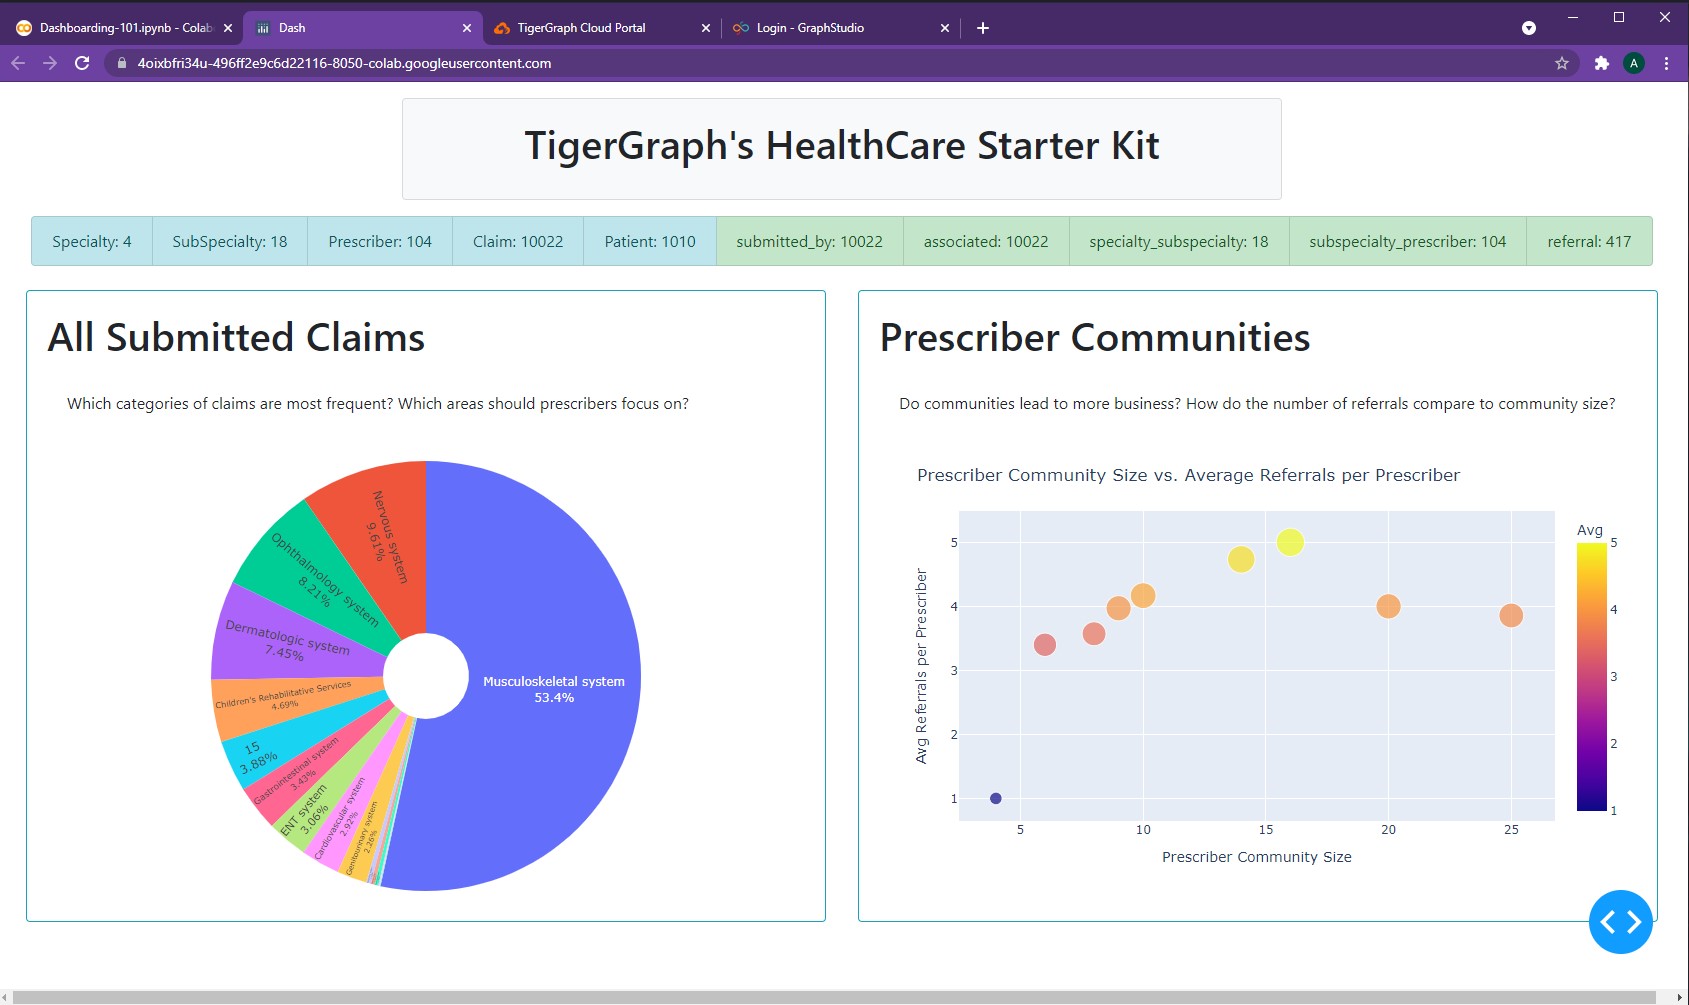
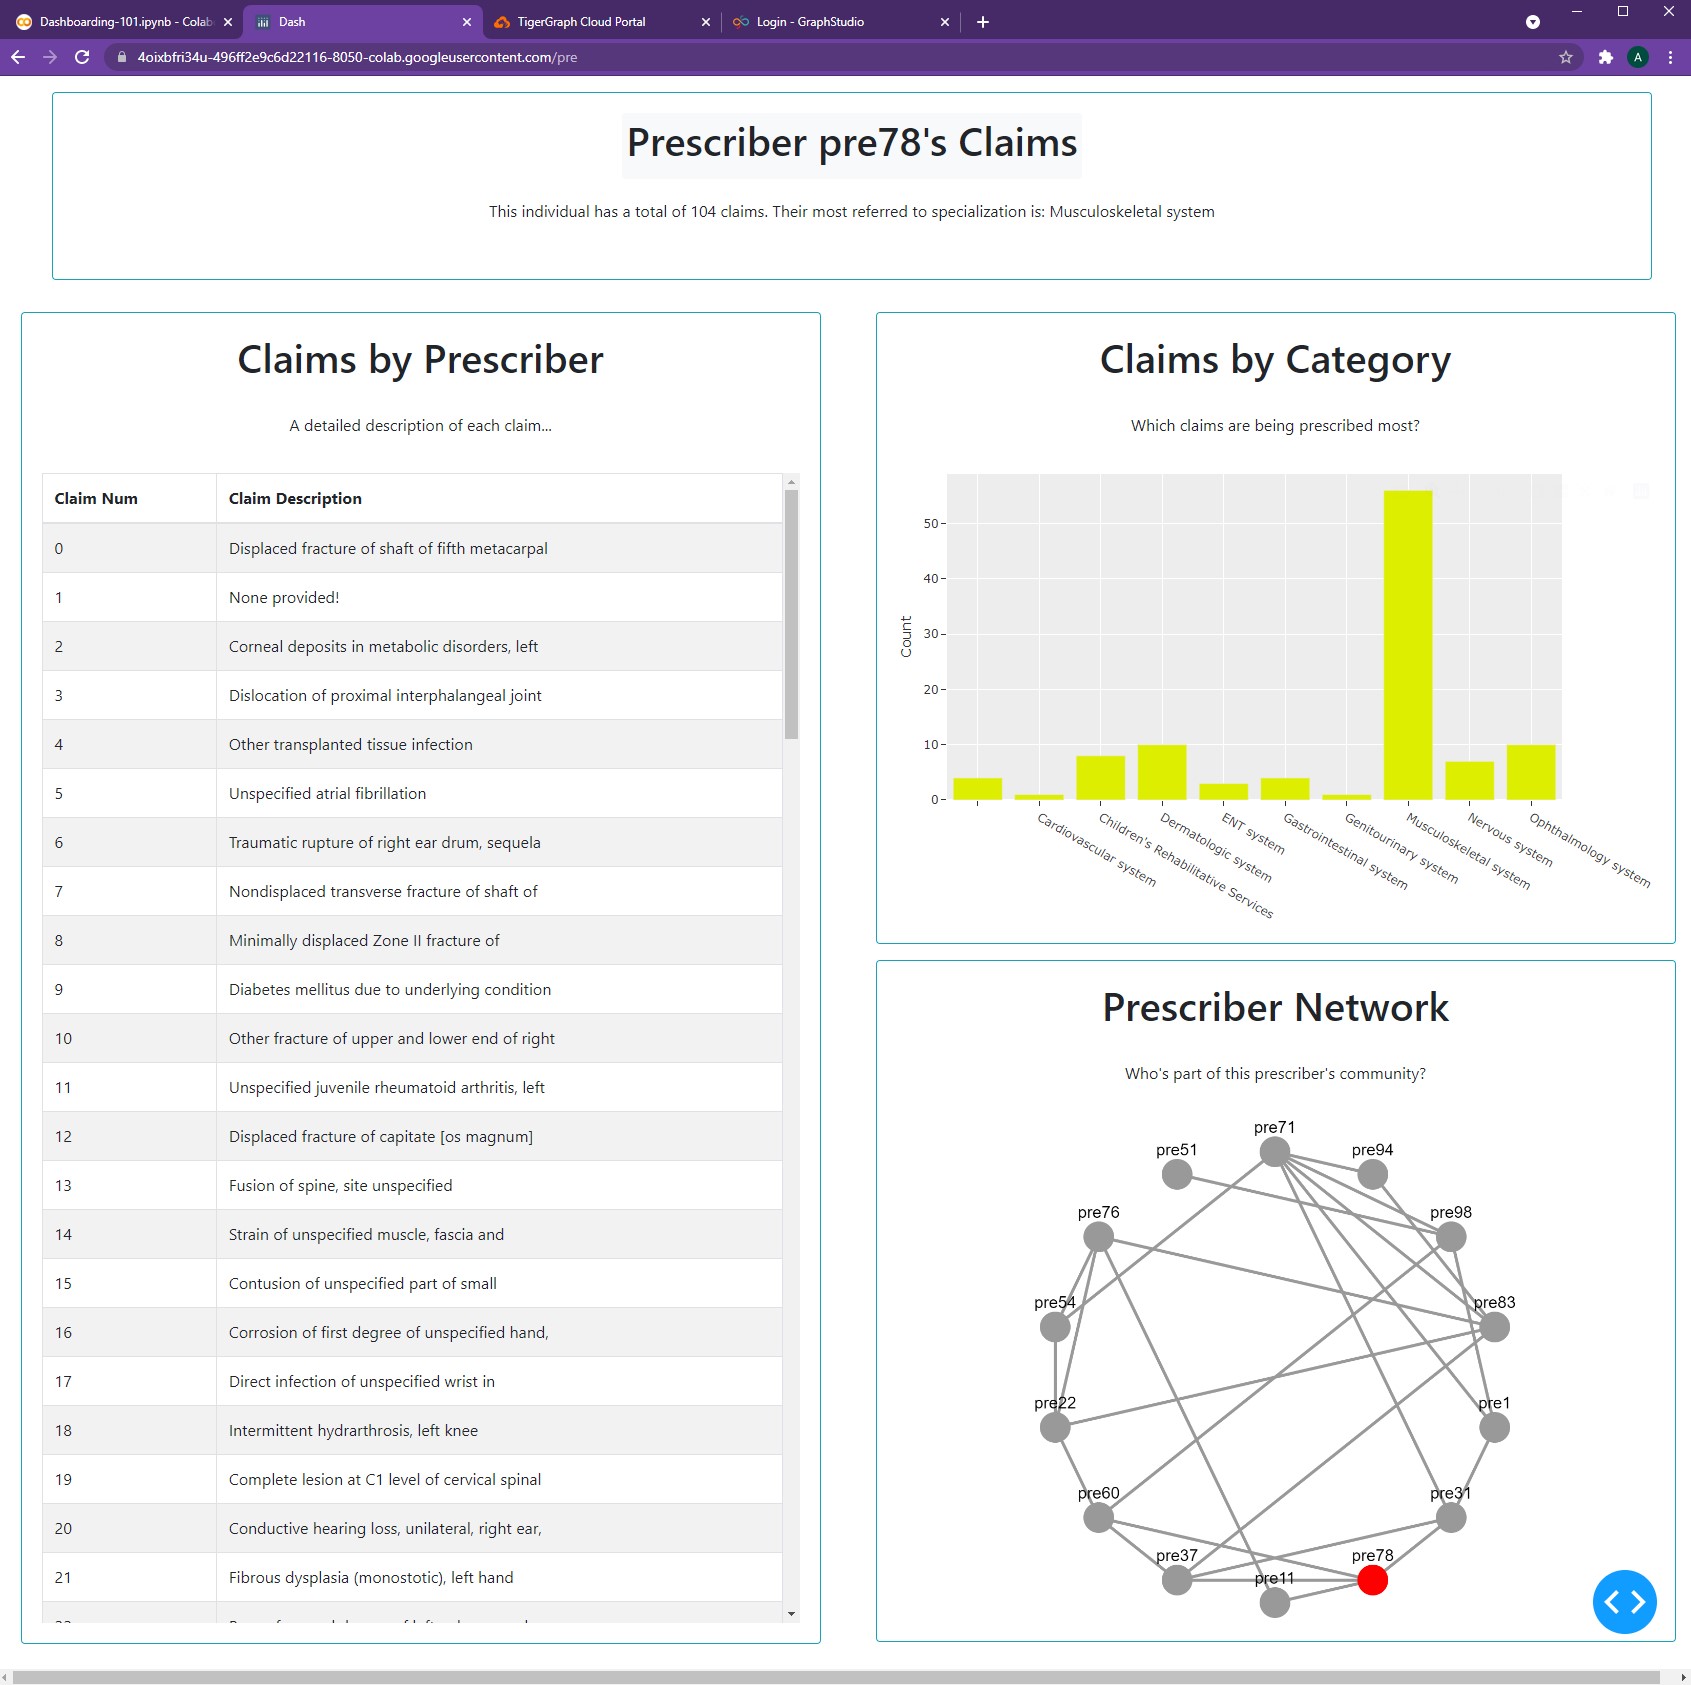
Comprehensive Multi-Page App
Let's use our Healthcare Dashboard and partition it into two pages.
- General Page - Contains our title, listgroups, pie, and scatter plot
- Prescriber Page - contains our table, bar chart, and network graph
Global Styles and Variables
In order to create a better multi-page app, we must first determine what content is shared across our multiple pages. We can declare these as global variables and have them unchanged upon navigating across pages. This way, our dashboard is more responsive as there is less to recompute upon each refresh.
NOTE: At the moment, we don't have any shared content. However, this will change in future chapters!
The Two Pages
Now, we can create content variables for each of the two pages, stored below:
generalPage = html.Div([
                dbc.Row(titleCard, justify="center"),
                dbc.Row(statsListGroup, justify="center"),
                html.Br(),

                dbc.Row([
                  pieChartCard,
                  scatterChartCard,
                  ],
                  justify="center"
                ),

              ])

prescriberPage = html.Div([
                  dbc.Row([
                    dbc.Col(tableCard),
                    dbc.Col([
                            barCard,
                            networkCard
                            ],
                        )
                      ],
                      justify='center'
                  ),
              ])
As seen, we just split the two pages where our original html.Hr() used to be!
Now, we can add in the simple callback to load the correct page.
app = JupyterDash(__name__, external_stylesheets=[dbc.themes.BOOTSTRAP])

app.layout = html.Div([
    dcc.Location(id='url', refresh=False),
    html.Div(id='page-content')
])

@app.callback(dash.dependencies.Output('page-content', 'children'),
              [dash.dependencies.Input('url', 'pathname')])

def display_page(pathname):
  if pathname == "/":
    return generalPage
  elif pathname == "/pre":
    return prescriberPage

  return dbc.Jumbotron(
        [
            html.H1("404: Not found", className="text-danger"),
            html.Hr(),
            html.P("Uh oh! Unfortunately, the pathname {} was unable to be recognised...".format(pathname)),
        ]
    )

app.run_server(mode='external')
And here's our dashboard, now with multiple pages!
Dash Links
However, having to manually enter the url for each specific page is not a good practice.
Luckily, Dash provides several methods for navigating through pages. One of the most common components used for navigation is the Dash Link, which allows users to select which page they wish to reach. Let's take a look!
We simply modify our app.layout to include two dcc.Link()'s. These are essentially
Dash's equivalent of hyperlinks. No additional callbacks needed, these links function perfectly by themselves!
app.layout = html.Div([
    dcc.Location(id='url', refresh=False),
    dbc.Row([
             dbc.Col(dcc.Link("Go to Home", href='/'), width=1),
             dbc.Col(dcc.Link('Go to Prescribers', href='/pre'), width=2),
            ],
            justify="start",
    ),
    html.Div(id='page-content')
])
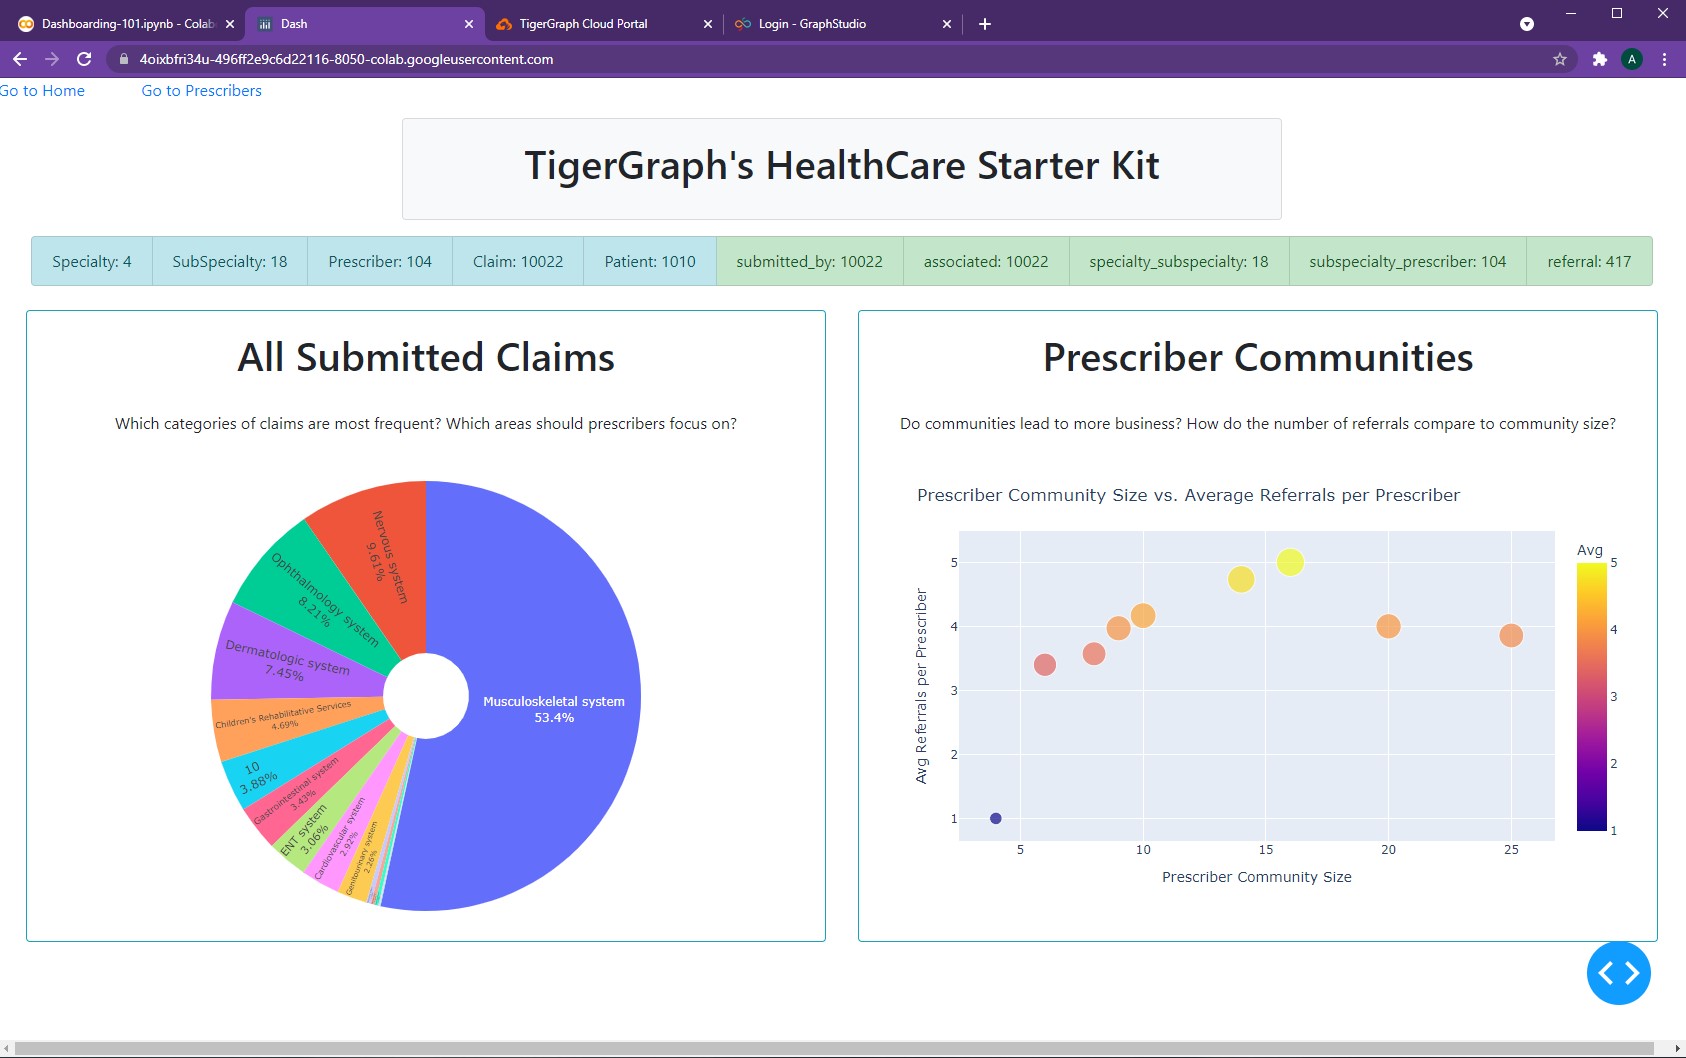
By including the dbc.Row() with our two links outside of html.Div(id='page-content'),
it remains static and present in the same location on all pages. However, this may not
always be needed. For example, we don't need to the "Go to Prescribers" hyperlink when
we are already on that page. To overcome this, we turn to our layout variables.
By adding one dcc.Link in each of our pages, we can remove any unnecessary overlap.
generalPage = html.Center(html.Div([
                dbc.Col(dcc.Link("Go to Prescribers", href='/pre'), width=2),
                dbc.Row(titleCard, justify="center"),
                dbc.Row(statsListGroup, justify="center"),
                html.Br(),

                dbc.Row([
                  pieChartCard,
                  scatterChartCard,
                  ],
                  justify="center"
                ),

              ]))

prescriberPage = html.Center(html.Div([
                  dbc.Col(dcc.Link("Go to Home", href='/'), width=1),
                  prescriberTitleCard,

                  dbc.Row([
                    dbc.Col(tableCard),
                    dbc.Col([
                            barCard,
                            networkCard
                            ],
                        )
                      ],
                      justify='center'
                  ),
              ]))
Once again, no callbacks needed! This functions perfectly using the app.layout from before.
NOTE: All code segments from this chapter can be found in this Colab Notebook.
Ch 08 - Callbacks
A Simple Callback
A Simple Callback
Callbacks are functions that are called automatically by Dash everytime a component's property changes. They allow for dynamic pages. We had taken a look at a simple callback in the last chapter, but let's flesh it out further.
For reference, here's the code segment from before.
app = JupyterDash(__name__, external_stylesheets=[dbc.themes.BOOTSTRAP])

app.layout = html.Div([
    dcc.Location(id='url', refresh=False),
    html.Div(id='page-content')
])

@app.callback(dash.dependencies.Output('page-content', 'children'),
              [dash.dependencies.Input('url', 'pathname')])

def display_page(pathname):
  if pathname == "/":
    return generalPage
  elif pathname == "/pre":
    return prescriberPage

  return dbc.Jumbotron(
        [
            html.H1("404: Not found", className="text-danger"),
            html.Hr(),
            html.P("Uh oh! Unfortunately, the pathname {} was unable to be recognised...".format(pathname)),
        ]
    )

app.run_server(mode='external')
- As seen, our callback is introduced with the
@symbol - It can take a list of Output elements as well as a list of Input elements
- In our example, it takes in the input with the ID
'url'. This component isdcc.Location(id=url, refresh=False), which is a Dash element that simply keeps track of the url of the current page. - In our example, the output element is
html.Div(id='page-content'), which is just an empty placeholder. It's contents are currently empty, but replaced by the callback upon each url change
That wasn't too bad to explain! As seen above, callbacks consist of:
- Header - specified by
@app.callback(), followed immediately by a... - Function - can be titled anything, takes in the callback input as a parameter.
Let's take a look at a more complicated input!
Introducing dbc.Button()
Instead of just the url, what if we wanted to add more aesthetic functionality directly onto our dash page. One way to do this is with dbc.Button() element, which allows for cleaner clickability.
This bootstrap component is quite easy to set up.
generalPage = html.Center(html.Div([
                dbc.Col(dbc.Button(
                      "Switch Pages", id="switch-button",
                      className="mr-2", n_clicks=0, color="info", href="/pre"
                    ),
                    width=2
                ),
                dbc.Row(titleCard, justify="center"),
                dbc.Row(statsListGroup, justify="center"),
                html.Br(),

                dbc.Row([
                  pieChartCard,
                  scatterChartCard,
                  ],
                  justify="center"
                ),

              ]))

prescriberPage = html.Center(html.Div([
                  dbc.Col(dbc.Button(
                        "Switch Pages", id="switch-button",
                        className="mr-2", n_clicks=0, color="info", href="/"
                      ),
                      width=2
                  ),
                  prescriberTitleCard,

                  dbc.Row([
                    dbc.Col(tableCard),
                    dbc.Col([
                            barCard,
                            networkCard
                            ],
                        )
                      ],
                      justify='center'
                  ),
              ]))
And that's it. No callbacks needed, at least for now.
However, the button does have several other functionalities beyond serving as a glorified hyperlink. It can keep track of the number of clicks, serve as a method to download files, and be customized to change on click.
NOTE: For more information on Buttons, feel free to check out the following resources:
dbc.Button()
Introducing dcc.Input()
For more intricate input, we turn to dcc.Input().
This Dash Core Component supports several types of text entry, including:
- "text" - regular text, any character goes!
- "number" - numbers and hyphens (for negative) signs only
- "password" - each entered character will be shown as a black dot
- "email" - will ensure that entered text is a valid email format
- "tel" - will ensure that entered text is a valid telephone format
This element is quite powerful, and can easily be incorporated as shown in this example:
app = JupyterDash(__name__, external_stylesheets=[dbc.themes.BOOTSTRAP])

app.layout = html.Div([
    dcc.Input(
      id="example-input",
      type="number",
      placeholder="Please enter a number."
    ),
    html.H1("Your number squared is:"),
    html.Div(id='page-content')
])

@app.callback(dash.dependencies.Output('page-content', 'children'),
              [dash.dependencies.Input('example-input', 'value')])

def display_page(value):
  if value is None:
    return html.H3("N/A")
  return html.H3(value*value)


app.run_server(mode='external')
Taking a closer look, we see that the id of the dcc.Input() is used in our callback.
It's value attribute is passed in as the sole parameter of our callback function. Additionally,
the input type has been specified to be a number.
Additionally, it's good practice to ensure that regardless of the input, the callback returns some
acceptable value! Even if it's an empty html.Div() element, it's good practice to
make sure that there are no edge cases.
NOTE: Fore more information on input, feel free to check out the following resources:
dcc.Input
Comprehensive Callback
Currently, the Prescribers page is static, fixed with the value "pre-78". Let's change this so that users may able to search for any valid prescriber within the Graph. First, we need a list of all valid options...
Acceptible Prescribers (Query)
Using our knowledge from the TigerGraph Tundra, we can write a query that returns all Prescriber IDs.
AllPrescribers = '''USE GRAPH MyGraph
CREATE QUERY AllPrescribers() FOR GRAPH MyGraph {
  ListAccum<Vertex<Prescriber>> @@allPrescribers;

  start = {Prescriber.*};

  allPres = SELECT p
              FROM start:p
              ACCUM @@allPrescribers += p;

  PRINT @@allPrescribers as allPrescribers;
}
INSTALL QUERY AllPrescribers'''

print(conn.gsql(AllPrescribers, options=[]))
Running this query gives us the following output,

Now, we can package it into the appropriate format as follows.
def getPresList():
  pres = conn.runInstalledQuery("AllPrescribers")[0]['allPrescribers']
  return [{'label':x, 'value':x} for x in pres]
Awesome! The question remains, how do we incorporate this list into our search?
Although dcc.Input() can support this sort of wordbank in searches, for a simpler implementation
we will utilize its close relative, dcc.Dropdown(). Let's take a closer look...
Using dcc.Dropdown()
Dash's Dropdown allows users to select values from a given list of possible options.
This component is very powerful, allowing for multi-value selection, the ability to disable certain options, the ability to clear certain options, and the real-time updating of options based on the user's search terms.
For this example, we will be using a basic implementation.
app = JupyterDash(__name__, external_stylesheets=[dbc.themes.BOOTSTRAP])

presList = getPresList()

app.layout = html.Div([
    dbc.Col(
        dcc.Dropdown(
          id="example-input",
          placeholder="Enter a prescriber..." ,
          options=presList
        ),
        width=3
    ),
    html.H1("Your chosen prescriber:"),
    html.Div(id='page-content')
])

@app.callback(dash.dependencies.Output('page-content', 'children'),
              [dash.dependencies.Input('example-input', 'value')])

def display_page(value):
  if value is None:
    return html.H3("N/A")
  return html.H3(value + " is valid!")


app.run_server(mode='external')
Breaking it down, we specify the id, placeholder text, and list of options for our Dropdown element. Then, within our callback, we simply display the chosen value as well as some accompanying text. Here's the result.
See, that wasn't so bad! Simple, yet quite powerful.
NOTE: For more information on Dropdown, feel free to check out the following resources:
dcc.Dropdown()
Putting it Together
Let's incorporate this search into our Prescribers Page.
dropdown = dbc.Col(
                    dcc.Dropdown(
                      id="pres-dropdown",
                      placeholder="Enter a prescriber..." ,
                      options=getPresList()
                    ),
                    width=3
                  )

def prescriberPage(pres):
  prescriberTitleCard, tableCard, barCard, networkCard = getPrescriberInfo(pres)

  page = html.Center(html.Div([
            dbc.Row([
                dropdown,
                dbc.Col(dbc.Button(
                      "Switch Pages", id="switch-button",
                      className="mr-2", n_clicks=0, color="info", href="/"
                    ),
                    width=2
                  ),
              ],
              justify='center'
            ),
            prescriberTitleCard,

            dbc.Row([
              dbc.Col(tableCard),
              dbc.Col([
                      barCard,
                      networkCard
                      ],
                  )
                ],
                justify='center'
            ),
        ]))

  return page
First, we create our dropdown component.
Next, we create a parameterized function that returns the prescriber page for a given prescriber.
Within this function, we incorporate the dropdown component (in the first dbc.Row()).
Now, we need to create our app and its callbacks.
app = JupyterDash(__name__, external_stylesheets=[dbc.themes.BOOTSTRAP], suppress_callback_exceptions=True)

presPage = html.Div(prescriberPage("pre78"), id='pres-content')

app.layout = html.Div([
    dcc.Location(id='url', refresh=False),
    html.Div(id='page-content')
])

@app.callback(dash.dependencies.Output('page-content', 'children'),
              [dash.dependencies.Input('url', 'pathname')])

def display_page(pathname):
  if pathname == "/":
    return generalPage
  elif pathname == "/pre":
    return presPage

  return dbc.Jumbotron(
        [
            html.H1("404: Not found", className="text-danger"),
            html.Hr(),
            html.P("Uh oh! Unfortunately, the pathname {} was unable to be recognised...".format(pathname)),
        ]
    )

@app.callback(dash.dependencies.Output('pres-content', 'children'),
              [dash.dependencies.Input('pres-dropdown', 'value')])

def update_pres(value):
  if value is not None:
    return prescriberPage(value)

  return prescriberPage("pre78") # Our default value


app.run_server(mode='external')
Several changes from before, so let's take a closer look!
-
First, we create a new variable to hold the contents of our prescriber page. Named
presPage, this element contains a unique id and is set to store the default prescriber page value using Prescriber #78. -
Next, we leave our
app.layout()and first callback untouched. These allow for navigation. -
In order to utilize the value of the dropdown, we write a new callback. This time, it's input is the
pres-dropdowncomponent. This callback function simply returns the Prescriber Page with the given prescriber. -
Note that we've had to add
suppress_callback_exceptions=Truein order to prevent warning pop-ups. This is because when we are on the general page, the dropdown element has not been loaded yet. Although this is not an issue, Dash registers this as a warning!
NOTE: Dashboards can have as many callbacks as desired. Although each callback can take unlimited inputs, each output can only be utilized once in a callback. For example, one cannot have two callbacks that both output
page-content. This will return an error when loading the Dash app. This is whydash.dependencies.Output()is simply one element, whiledash.dependencies.Input()is within a list.
And with that, we have the first verison of our dynamic dashboard!
NOTE: All code segments from this chapter can be found in this Colab Notebook.