The Multi-Page Monsters 🦖

After waving goodbye to our mysterious friend, we trudge onwards through the TigerGraph tundra, hoping to find the elusive elysium of elements described by the TigerGraph protector.
As we make our way in the harsh winds, we hear a roar echoing throughout the valley. Loud stomps grow closer and we clutch our laptop, trembling with panic.
A booming voice pierces through the bitter cold:
“Ahh, we hear you’re on a quest! Well lucky for you, we can help!”
Turning around, we see two strange figures beaming at us.
“We’re the Multi-Page monsters, and we have a way to organize your cluttered dashboards! ”
In an attempt to reassure our quizzical expressions, they laughed.
“Don’t worry! It’s quite easy to clean up your dashboard by organizing it into multiple pages…”
Multi-Page Monster Notes 01
A Simple Multi-Page App
The first step in creating multiple pages for our Dash app is to separate our content into multiple distinct variables or elements. For example, if we wish to create three pages, we can perform this by create three content variables:
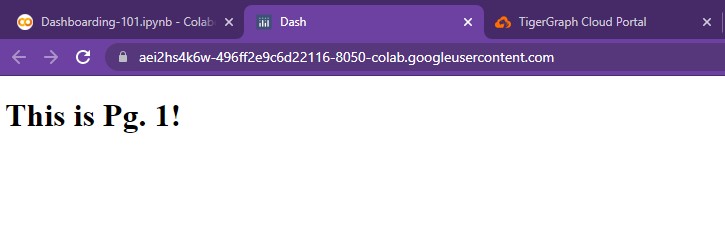
page1_content = html.Div(html.H1("This is Pg. 1!"))
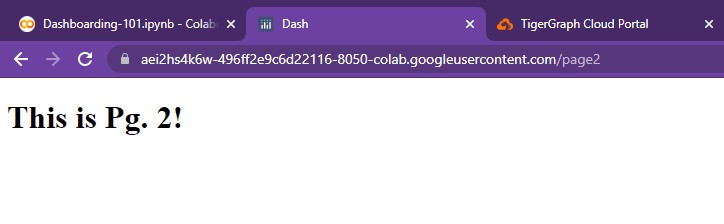
page2_content = html.Div(html.H1(html.B("This is Pg. 2!")))
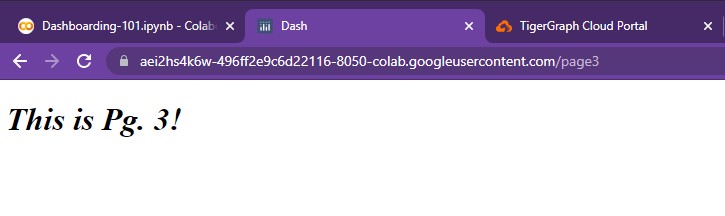
page3_content = html.Div(html.H1(html.I("This is Pg. 3!")))
Next, we must change our app layout to reflect this:
app = JupyterDash(__name__)

app.layout = html.Div([
    dcc.Location(id='url', refresh=False),
    html.Div(id='page-content')
])

@app.callback(dash.dependencies.Output('page-content', 'children'),
              [dash.dependencies.Input('url', 'pathname')])

def display_page(pathname):
  if pathname == "/":
    return page1_content
  elif pathname == "/page2":
    return page2_content
  elif pathname == "/page3":
    return page3_content

app.run_server(mode='external')
And now, running the app will only show us the first page!
However, entering the proper link will take us to pages 2 and 3.
How are we doing this? Well, using a simple callback...
As defined below the app layout, the input is simply the pathname of the current page. The output is the page-content, an html.Div element that we've defined in our app layout. This is where the importance of element id's comes into play! For any element that will be updated via a callback, an id is needed.
@app.callback(dash.dependencies.Output('page-content', 'children'),
          [dash.dependencies.Input('url', 'pathname')])
Breaking down the function display_page(), we simply compare the pathname to several predefined, valid pages. Then, the respective content is returned. This content is stored and displayed in html.Div(id='page-content').
NOTE: We will cover callbacks in the next chapter! This is merely an intro used to navigate through pages.
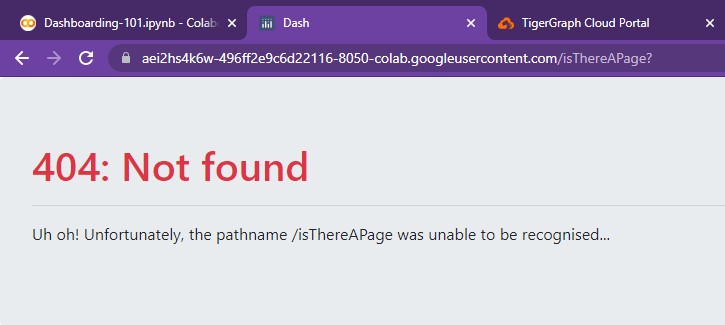
Yet entering any other link will lead to a blank page... uh oh!
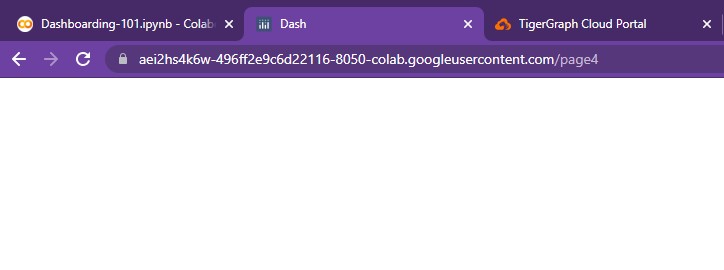
We need to make sure that the user doesn't accidentally access any unauthorized or unbuilt pages. They should only be able to access the extension links that we've provided. In order to secure this, we can use Dash Bootstrap...
Dash Jumbotron
The Dash Jumbotron is a Bootstrap component that is used to showcase important messages. In this case, we'll use it to display a "404 error message" whenever the user reaches an unauthorized page.
Adding this jumbotron is quite simple.
app = JupyterDash(__name__, external_stylesheets=[dbc.themes.BOOTSTRAP])

app.layout = html.Div([
    dcc.Location(id='url', refresh=False),
    html.Div(id='page-content')
])

@app.callback(dash.dependencies.Output('page-content', 'children'),
              [dash.dependencies.Input('url', 'pathname')])

def display_page(pathname):
  if pathname == "/":
    return page1_content
  elif pathname == "/page2":
    return page2_content
  elif pathname == "/page3":
    return page3_content

  return dbc.Jumbotron(
        [
            html.H1("404: Not found", className="text-danger"),
            html.Hr(),
            html.P("Uh oh! Unfortunately, the pathname {} was unable to be recognised...".format(pathname)),
        ]
    )

app.run_server(mode='external')
And just like that, we've put together a simple multi-page app!
In order to modify each page, we can simply change the html.Div() element to contain our page's components. To add pages, we can extend our if/else. Yet as of now, users can only navigate by entering each page's link.
"This isn't the best way to navigate across pages... Users shouldn't have to manually enter the link for each page they wish to reach. Let's take this example one step further..."
Multi-Page Monster Notes 02
Comprehensive Multi-Page App
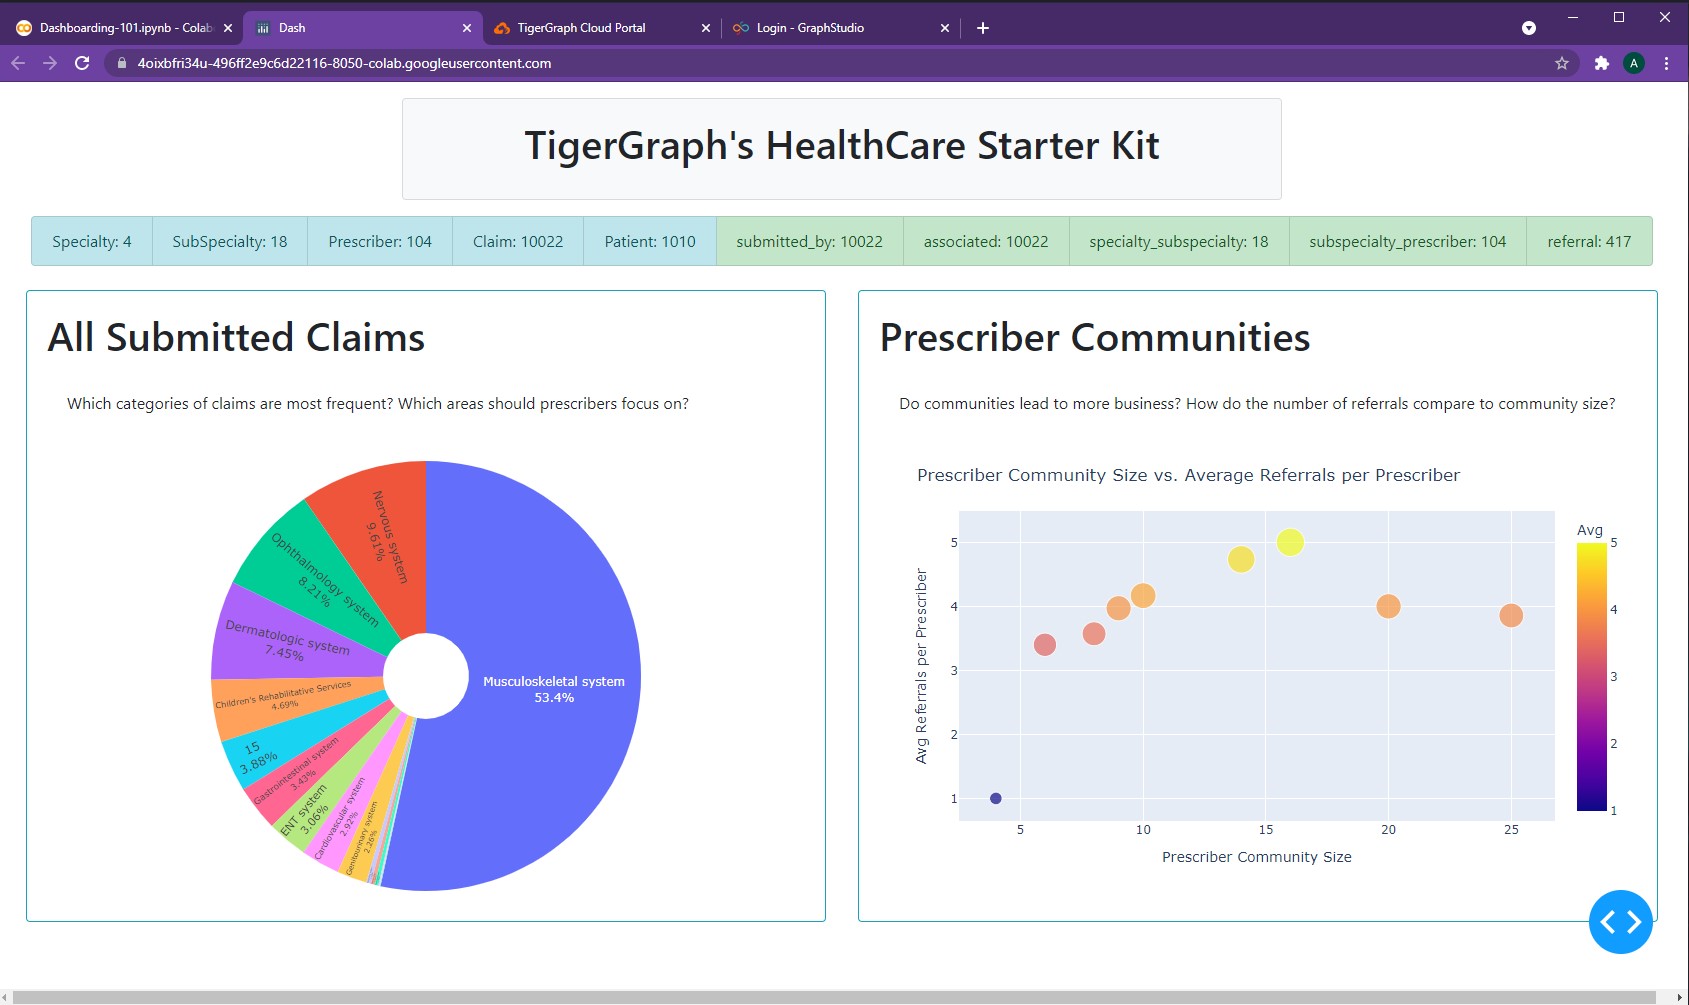
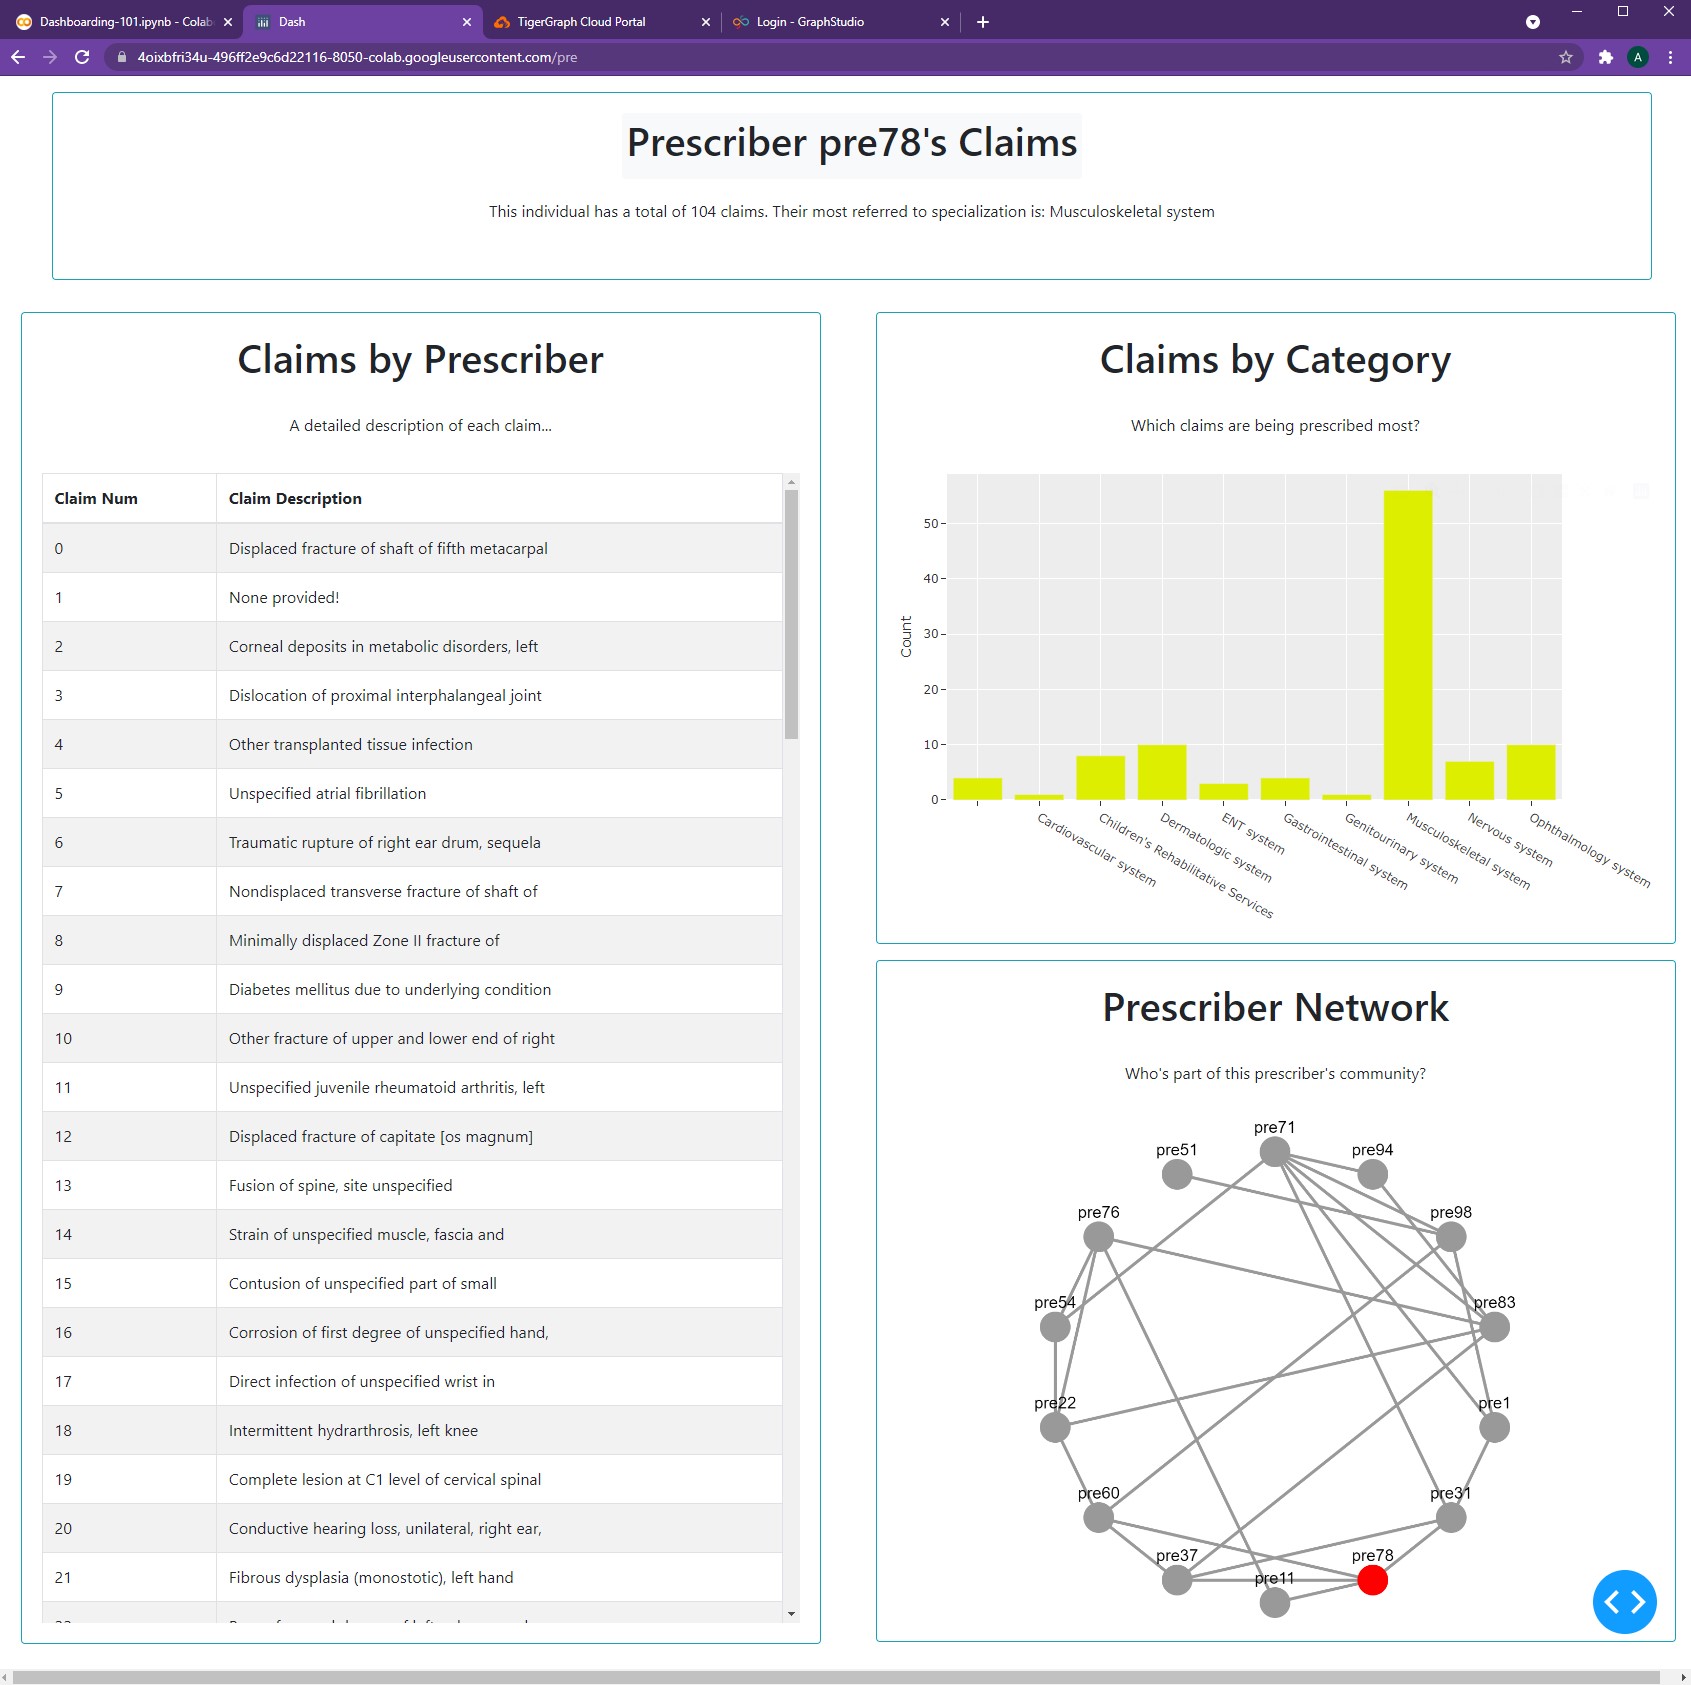
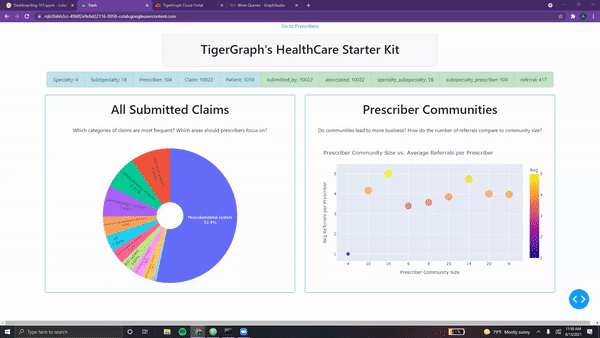
Let's use our Healthcare Dashboard and partition it into two pages.
- General Page - Contains our title, listgroups, pie, and scatter plot
- Prescriber Page - contains our table, bar chart, and network graph
Global Styles and Variables
In order to create a better multi-page app, we must first determine what content is shared across our multiple pages. We can declare these as global variables and have them unchanged upon navigating across pages. This way, our dashboard is more responsive as there is less to recompute upon each refresh.
NOTE: At the moment, we don't have any shared content. However, this will change in future chapters!
The Two Pages
Now, we can create content variables for each of the two pages, stored below:
generalPage = html.Div([
                dbc.Row(titleCard, justify="center"),
                dbc.Row(statsListGroup, justify="center"),
                html.Br(),

                dbc.Row([
                  pieChartCard,
                  scatterChartCard,
                  ],
                  justify="center"
                ),

              ])

prescriberPage = html.Div([
                  dbc.Row([
                    dbc.Col(tableCard),
                    dbc.Col([
                            barCard,
                            networkCard
                            ],
                        )
                      ],
                      justify='center'
                  ),
              ])
As seen, we just split the two pages where our original html.Hr() used to be!
Now, we can add in the simple callback to load the correct page.
app = JupyterDash(__name__, external_stylesheets=[dbc.themes.BOOTSTRAP])

app.layout = html.Div([
    dcc.Location(id='url', refresh=False),
    html.Div(id='page-content')
])

@app.callback(dash.dependencies.Output('page-content', 'children'),
              [dash.dependencies.Input('url', 'pathname')])

def display_page(pathname):
  if pathname == "/":
    return generalPage
  elif pathname == "/pre":
    return prescriberPage

  return dbc.Jumbotron(
        [
            html.H1("404: Not found", className="text-danger"),
            html.Hr(),
            html.P("Uh oh! Unfortunately, the pathname {} was unable to be recognised...".format(pathname)),
        ]
    )

app.run_server(mode='external')
And here's our dashboard, now with multiple pages!
Dash Links
However, having to manually enter the url for each specific page is not a good practice.
Luckily, Dash provides several methods for navigating through pages. One of the most common components used for navigation is the Dash Link, which allows users to select which page they wish to reach. Let's take a look!
We simply modify our app.layout to include two dcc.Link()'s. These are essentially
Dash's equivalent of hyperlinks. No additional callbacks needed, these links function perfectly by themselves!
app.layout = html.Div([
    dcc.Location(id='url', refresh=False),
    dbc.Row([
             dbc.Col(dcc.Link("Go to Home", href='/'), width=1),
             dbc.Col(dcc.Link('Go to Prescribers', href='/pre'), width=2),
            ],
            justify="start",
    ),
    html.Div(id='page-content')
])
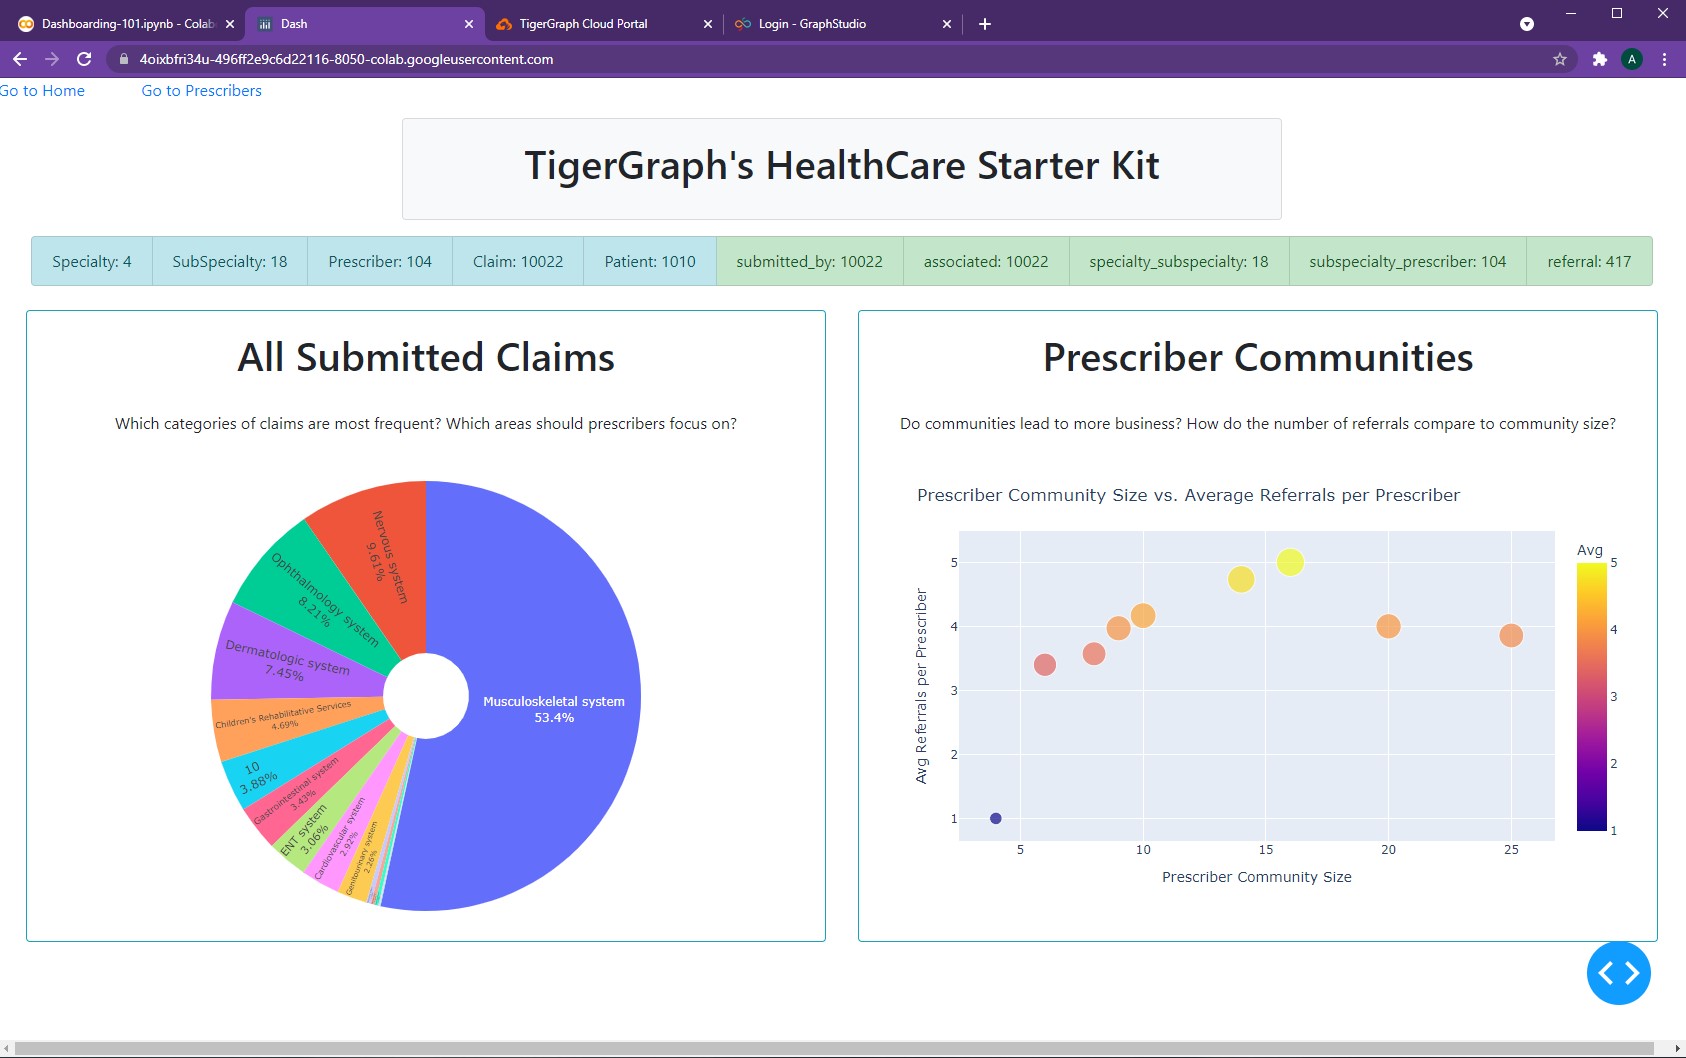
By including the dbc.Row() with our two links outside of html.Div(id='page-content'),
it remains static and present in the same location on all pages. However, this may not
always be needed. For example, we don't need to the "Go to Prescribers" hyperlink when
we are already on that page. To overcome this, we turn to our layout variables.
By adding one dcc.Link in each of our pages, we can remove any unnecessary overlap.
generalPage = html.Center(html.Div([
                dbc.Col(dcc.Link("Go to Prescribers", href='/pre'), width=2),
                dbc.Row(titleCard, justify="center"),
                dbc.Row(statsListGroup, justify="center"),
                html.Br(),

                dbc.Row([
                  pieChartCard,
                  scatterChartCard,
                  ],
                  justify="center"
                ),

              ]))

prescriberPage = html.Center(html.Div([
                  dbc.Col(dcc.Link("Go to Home", href='/'), width=1),
                  prescriberTitleCard,

                  dbc.Row([
                    dbc.Col(tableCard),
                    dbc.Col([
                            barCard,
                            networkCard
                            ],
                        )
                      ],
                      justify='center'
                  ),
              ]))
Once again, no callbacks needed! This functions perfectly using the app.layout from before.
The first monster paused,
"This is how one can may piece together a multi-page app. However, it is essential to learn more about callbacks before being able to continue adding intricate functionalities to our dashboard."
The second monster started jumping up and down,
"Oooh! Oooh! Is it my turn to explain now? I love callbacks!!"
The first monster sighed, and beckoned at its companion to begin...
-
All code segments from this chapter can be found in this Colab Notebook. Feel free to follow along! ↩
-
Everything we've installed so far (prerequistes for next section):
↩!pip install -q pyTigerGraph import pyTigerGraph as tg TG_SUBDOMAIN = 'healthcare-dash' TG_HOST = "https://" + TG_SUBDOMAIN + ".i.tgcloud.io" # GraphStudio Link TG_USERNAME = "tigergraph" # This should remain the same... TG_PASSWORD = "tigergraph" # Shh, it's our password! TG_GRAPHNAME = "MyGraph" # The name of the graph conn = tg.TigerGraphConnection(host=TG_HOST, graphname=TG_GRAPHNAME, username=TG_USERNAME, password=TG_PASSWORD, beta=True) conn.apiToken = conn.getToken(conn.createSecret()) !pip install -q jupyter-dash import dash import dash_html_components as html from jupyter_dash import JupyterDash import plotly.express as px import pandas as pd import plotly.graph_objects as go import dash_core_components as dcc !pip install dash-bootstrap-components import dash_bootstrap_components as dbc !pip install dash-cytoscape import dash_cytoscape as cyto